Just because Christmas is over, don't put away those snowflakes, they can be used all winter long! I used them on the purple frame and die-cut them out of glitter paper. Here's how my card was made;
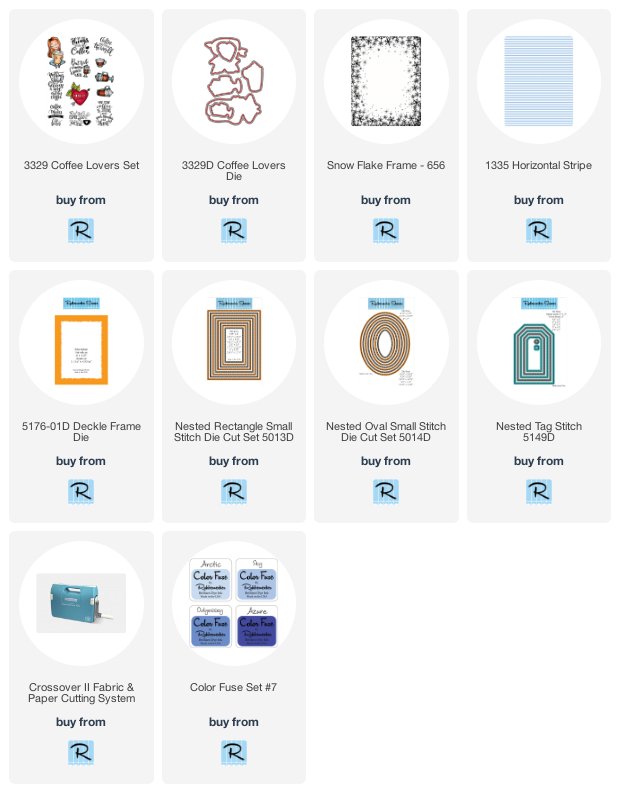
- Die-cut a purple frame using the Deckle Frame Die.
- Stamp the frame with the Snow Flake Frame stamp and white pigment ink. Pop this up on a white card using foam squares and set aside.
- Die-cut a white and purple cardstock with the Nested Rectangle Small Stitch Die Set and glue together so that they are offset. Glue this in the center of the frame on the white card.
- Stamp the girl from the Coffee Lovers Set with black ink on white cardstock, color with colored pencils, and die-cut with the Coffee Lovers Die set.
- Die-cut white cardstock using the Nested Tag Stitch die set and apply Sky Color Fuse Ink to the enter of the die.
- Use the Nested Oval Small Stitch Die Cut Set to cut grey patterned paper.
- Glue the oval to the bottom of the tag, pop up the girl with foam squares, and randomly ally sequines to the tag.
- Glue the tag to the center of the frame diagonally and glue on green ribbon that has been tied into a knot.
- Die-cut several snowflakes from white glitter paper and glue two flat to the bottom left corner and pop one up using a foam square.
- Stamp the sentiment from the set onto white cardstock with black ink and die-cut with the Nested Oval Small Stitch Die.
- Glue two snowflakes to the back of the sentiment and pop up the right corner.
Have a crafty day!
Let's Connect!
Affiliate and Product Disclosure
I am on various Design Teams and get free goodies for blogging about craft products but only because I love their products and genuinely use them. Ultimately my opinions are my own. A list of companies is in my sidebar.
Being part of various affiliate programs – when you click on an affiliate link and then go on to make a purchase, at no cost to you, I receive a small commission. The affiliates I use include Rubbernecker Stamps.


No comments:
Post a Comment