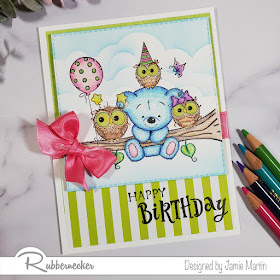
Hi, Jamie here with you for another Monday! If you're like me I'm always in need of birthday cards for all ages and I like to have a bunch to choose from so I can pick one that really suits the person that I'm giving it to. This stamp is so adorable, I already have someone in mind for it!
Here's how my card was made;
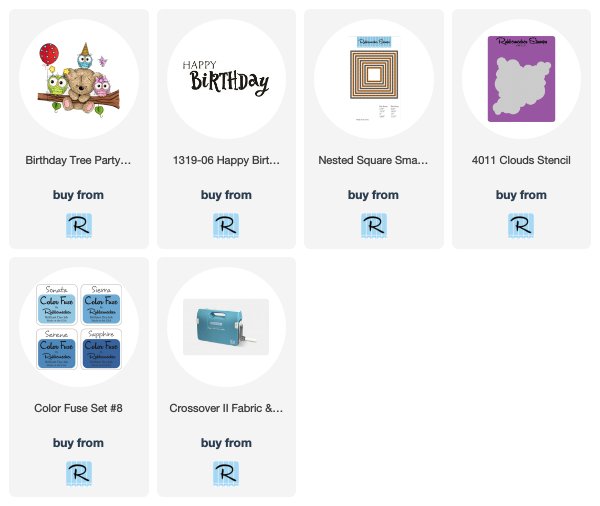
- Stamp Birthday Tree Party on white cardstock and color with color pencils.
- Make the clouds by using the Clouds Stencil and the new Sonata ink from the Color Fuse #8 ink set.
- Die-cut the colored piece using the largest die from the Nested Square Stitch Die Set and set aside.
- Glue decorative paper to a white top folding card and glue pink ribbon around the center.
- Pop up the stamped image on the top of the card and glue a pink bow to the left side.
- Stamp Happy Birthday in black ink on the bottom right of the card.
- Add Glossy Accents to the eyes of the owls and Stickles to the balloon, stars, hat, and bow.
In the picture above you can see the Glossy Accents on the eyes and some of the glitter.
Paper dimensions
White card 4 1/4" x 5 1/2"
Decorative Paper from The Paper Studio 4" x 2 3/4" (two pieces)
White cardstock square- cut with the largest die
Plus
Stickles- Unicorn
Glossy Accents
3D Foam Squares- Scrapbook Adhesives by 3L
Pink statin ribbon
Nuvo Deluxe Adhesive
VersaFine Onyx Black Ink
Prisma Color Pencils
*Pink- 929, 994
*Green- 1005, 912, 909, 911
*Blue- 992, 905, 902
*Brown- 941, 943, 945
*Yellow- 916, 1034, 1003
*Purple- 956, 932

Follow Me- Stamp This, on-
Twitter
Affiliate and Product Disclosure
I am on various Design Teams and get free goodies for blogging about craft products but only because I love their products and genuinely use them. Ultimately my opinions are my own. A list of companies is in my sidebar.
Being part of various affiliate programs – when you click on an affiliate link and then go on to make a purchase, at no cost to you, I receive a small commission. The affiliates I use include Rubbernecker Stamps and Whimsy Stamps.


This is really cute Jamie. I love the way you colored the image and added all the special effects. And for some reason, I never think to stamp on top of patterned paper. SO now I will! Thanks for the idea and sharing this beautiful creation.
ReplyDelete