Saturday, July 31, 2021
A Snowman Greeting
Sunday, July 25, 2021
Poinsettia Frame

Supplies
Stampendous
SSC1404 Christmas Frame PCS
DCP1020 POP Frame Die Set
Mixed Media White Paper
Onyx Black VesaFine Ink
PlusPen
Prisma Colored Pencils
Scrapbook Adhesives by 3L- Dual Tip Glue, 3D Foam Circles,
PrintWorks- Red Cardstock
Decorative Paper
Monday, July 19, 2021
Frosty Fun!
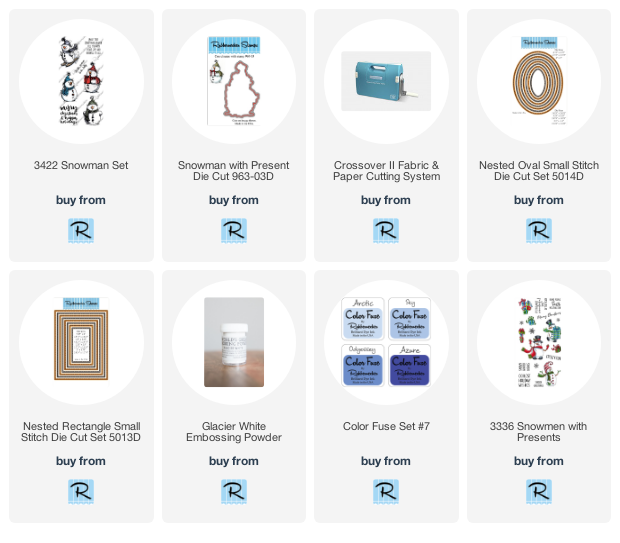
- Stamp the snowman on watercolor paper with black ink and watercolor with Inktense Pencils.
- Use the Snowman with Present Die Cut to cut out and add glitter to the fur on the hat and the ribbon on the gift. Set aside.
- Die-cut decorative paper with the rectangle die and mount to white cardstock cut with the deckle die then mount to a top folding red card.

- Use oval dies to cut white and red cardstock, cutting the red one size larger than the white.
- Use oval dies to cut white and red cardstock, cutting the red one size larger than the white.
- Stamp the Snow Flake Frame at the top of the white oval with VersaMark Ink and emboss with white embossing powder.
- Use a brush to add blue inks to the top of the white oval.
- Pop up the Santa on the oval with foam squares. Layer this onto the red oval and pop up on the center of the card with foam squares.
- Stamp the sentiment from the Snowmen with Presents Set on a red strip of cardstock with VersaMark Ink and emboss with white embossing powder.
- Pop up on the top left corner of the card with foam squares.
- Finally, tie the bottom of the card with red and white twine.
- Pop up on the top left corner of the card with foam squares.
- Finally, tie the bottom of the card with red and white twine.

Thursday, July 15, 2021
You Are Fabulous!
Sunday, July 11, 2021
Friends Make Christmas Sparkle!
- Stamp Ornament Sled on white cardstock with black ink and color with colored pencils.
- Sprinkle Shabby White Embossing Enamel on the bottom of the panel and heat from underneath so it doesn't blow off.
- Sprinkle Vintage Blue Embossing Enamel on the top of the panel for the sky and also heat from underneath.
- Layer this onto a slightly larger black cardstock panel and set it aside.
- Stamp the bottom half of a brown panel with the Slim Woodgrain stamp with VersaMark ink and Sparkle Puff Embossing Powder.
- Splatter white ink on the top of the panel and glue to a red card.
- Glue a panel of buffalo plaid paper to the card and pop up the stamped image on the diagonal.
- Stamp the sentiment from the Snow Time Frame PCS with black ink. Die-cut this and red cardstock with dies from the POP Frame Die Set.
- Glue the pieces together and pop it up on the card.
Supplies
Stampendous
HMM26 Ornament Sled
DCP1020 POP Frame Die Set
SSC1407 Snow Time Frame PCS
CSL11 Slim Woodgrain
Mixed Media White Paper
Onyx Black VersaFine Ink
FREG027 Shabby White Embossing Enamel
TP122 Vintage Blue Tinsel Embossing
EP525 Sparkle Puff 3-D Embossing Powder
PlusPen
Prisma Colored Pencils
Scrapbook Adhesives by 3L- Dual Tip Glue, 3D Foam Circles,
The Paper Studio Buffalo Check
PrintWorks- Red Cardstock, Black Cardstock
Nested Rectangle Stitch Die Set
Distress Spray Stain- Picket Fence
White Pigment Ink
Heat Gun
Thursday, July 8, 2021
On a Wintery Day
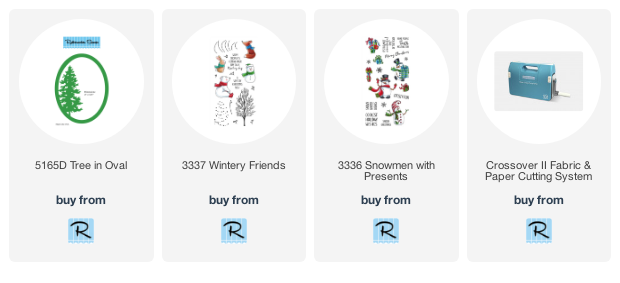
- Die-cut the Tree In Oval from gold glitter paper, I used the Crossover II Fabric & Paper Cutting System.
- Apply 3D Foam Squares from Scrapbook Adhesives by 3L to the backside of the die-cut piece.
- Place this piece on a 4" x 5 1/4" cream cardstock panel and lightly mark the inside of the oval with a pencil.
- Before removing the die-cut piece stamp the sentiment from the Wintery Friends Set with gold ink and emboss with clear embossing powder.
- Randomly stamp snowflakes from the Snowmen with Presents Set.
- Adhere the cream panel to a kraft and gold polka dot card.
- Now adhere the die-cut piece to the card.


