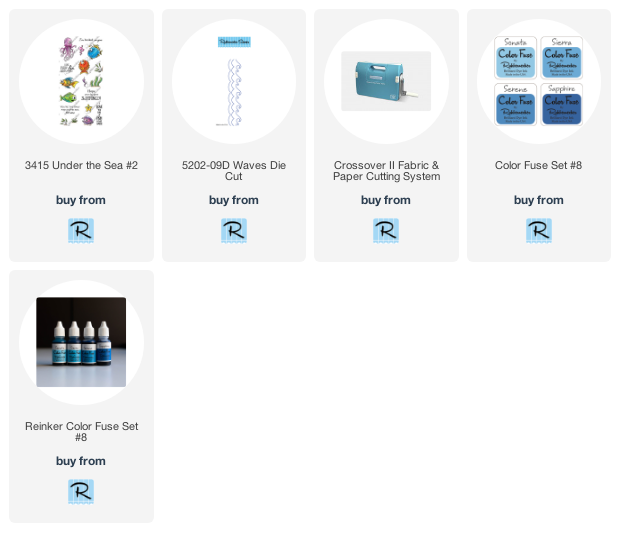
Today's card uses the new release Under the Sea Set #2 from Rubbernecker Stamps to make this fun summer card. Be sure to read on to see how the waves were made!
Here's how my card was made-
- Die-cut blue cardstock 4" x 5 1/4" with the Waves Die Cut about 1/3 from the top.
- Use the top portion that was cut off like a stencil and leaving the top of the wave panel un-inked, start applying blue inks from the Color Fuse Inks #8 Set starting with the lightest color and move the "stencil" down each time you go darker.
- Glue the waves to a white cardstock panel 4" x 5 1/4" using the Dual Tip Glue Pen from Home and Hobby by Scrapbook Adhesives by 3L.
- Stamp the sentiment from the Under the Sea #2 with Onyx Black Ink and emboss with clear embossing powder from Stampendous.
- Glue this to a light blue card using the same adhesive.
- Stamp the fish from the Under the Sea #2 Set with black ink on watercolor paper and emboss with clear embossing powder.
- Watercolor the fish and cut them out.
- Pop up the fish with 3D Foam Adhesive Squares as shown.
- Glue on blue and clear Dew Drops for the bubbles above the fish.
- Add a seashell sequin near the sentiment.

Plus
Adhesive- Scrapbook Adhesives by 3L
Cardstock- PrintWorks
Watercolour Cake Set- Mont Marte
Have a crafty day!
Let's Connect!
Affiliate and Product Disclosure
I am on various Design Teams and get free goodies for blogging about craft products but only because I love their products and genuinely use them. Ultimately my opinions are my own. A list of companies is in my sidebar.
Being part of various affiliate programs – when you click on an affiliate link and then go on to make a purchase, at no cost to you, I receive a small commission. The affiliates I use include Rubbernecker Stamps.


