Monday, May 31, 2021

Say Hello With a Cool Treat!


What a fun way to cool off on a hot day with this cute stamp, Cool Treat from Stampendous. 

The image was stamped with Onyx Black VersaFine Ink and colored with Prisma Colored Pencils.  The POP Frame Die Set was used to die-cut the image and Shabby Blue Embossing Enamel was sprinkled on the top of the panel for the sky and heat embossed from underneath so that the embossing enamel wouldn't blow off.
The POP Frame Die Set was also used to die-cut the Hello and the bottom of the green and yellow papers.  Be sure to check out this die set, it has a line of POP Frame Stamp Sets that work with it, just one die set for a bunch of different sets, such a great deal.


Let's connect!


Disclaimer- I get free goodies for blogging about craft products! Today I'm sharing a card made with products from Stampendous





 

Friday, May 21, 2021

Let Them Eat Cake


Look at this beautiful big cake, there's enough for everyone!  This cake is from the Slim Cake Perfectly Clear Stamp Set from Stampendous.  It comes in three different layers so you can make any size cake that you'd like.  I used all three layers to fill my slimline card, two layers would fill a regular-sized card and one layer would be cute on a mini card or tag.

The cake was stamped on Mixed Media White Cardstock with VersaFine Ink, then colored with Prisma Colored Pencils.  The sentiment is one of five from the set.  Sequins were randomly added around the cake to give it a festive feel.


Let's connect!


Disclaimer- I get free goodies for blogging about craft products! Today I'm sharing a card made with products from Stampendous

Here are some places that you can find Stampendous Products-
First off check out your local Stamp Store, if they don't have it they can order it.
Online Stores


Wednesday, May 19, 2021

Birthday Wish


Happy Wednesday, I have an easy birthday card today with the sentiment against a pretty embossed background.  Change up the background and colors to suit anyone of any age, here's how my card was made-
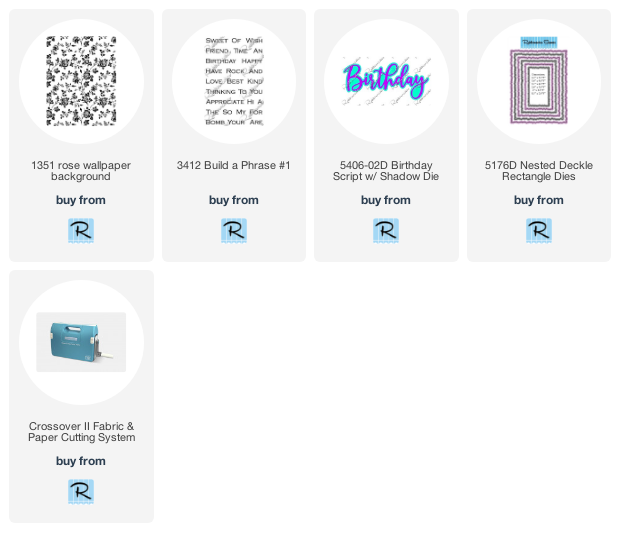
  • Stamp the Rose Wallpaper Background on decorative paper with VersaMark Ink and emboss with purple embossing powder.
  • Die-cut the panel using the Nested Deckle Rectangle Dies.  If you're looking for a die cutting machine, take a look at the Crossover II, the pressure is adjustable so no need for different shims or multiply plates of different thicknesses. Just adjust the pressure with the roll of a knob!
  • Glue this onto a slightly larger white cardstock panel.
  • Then glue diagonally to a 4" x 5 1/4" dark purple panel and adhere it to a white card.
  • Use the Birthday Script with Shadow Die and die-cut white and dark purple cardstock.
  • Glue the white script birthday to the dark purple shadow.
  • Use 3D Foam Circles to pop up the Birthday on the card.
  • Stamp Wish from the Build a Phrase #1 Set on a strip of white cardstock with Onyx Black VersaFine Ink and add two strips of thin silver glitter washi tape to the left side and glue it flat below the Birthday.
  • Apply a thin strip of silver glitter washi tape down the left side of the card.
  • For the final touch add three self-adhesive pearls as shown.


Have a crafty day!

Let's Connect!

Affiliate and Product Disclosure
I am on various Design Teams and get free goodies for blogging about craft products but only because I love their products and genuinely use them. Ultimately my opinions are my own. A list of companies is in my sidebar.
Being part of various affiliate programs – when you click on an affiliate link and then go on to make a purchase, at no cost to you, I receive a small commission.  The affiliates I use include Rubbernecker Stamps.

Saturday, May 15, 2021

Let's Have Coffee!


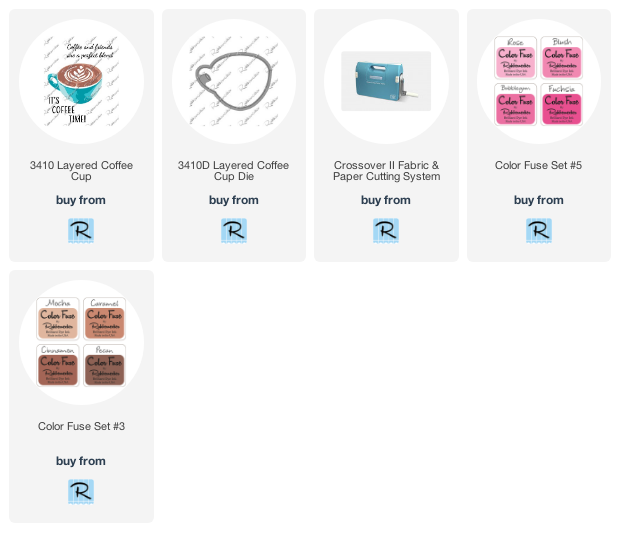
Hi there, today I'm up on the Scrapbook Adhesives by 3L Blog with this card that I made to send to a friend for a get-together, over a cup of coffee.  Scrapbook Adhesives by 3L makes it easy to add glitter to your background or any project, with Crafty Power Tape and Adhesive Dots.  

Be sure to stop by the Scrapbook Adhesives by 3L Blog HERE for step-by-step directions with pictures on how my card was made and what products of theirs were used!

Have a crafty day!

Let's Connect!

Affiliate and Product Disclosure
I am on various Design Teams and get free goodies for blogging about craft products but only because I love their products and genuinely use them. Ultimately my opinions are my own. A list of companies is in my sidebar.

Here are the Rubbernecker Products that were used.

Wednesday, May 5, 2021

Friend Get Well


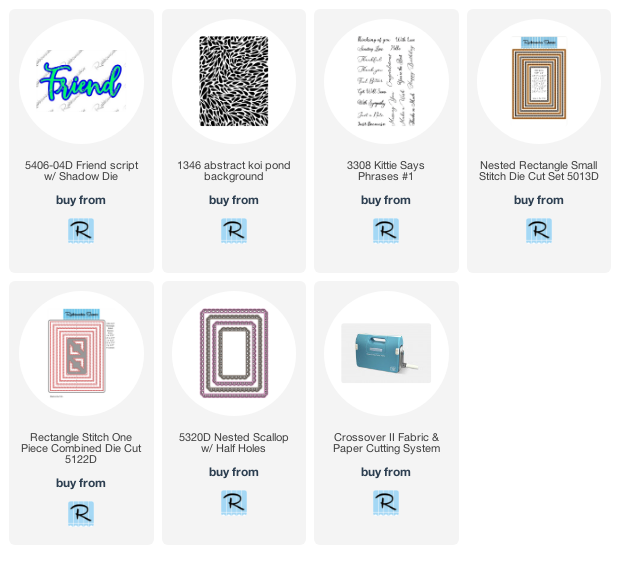
Hi there, this week Rubbernecker Stamps is focusing on background stamps and all of the things that you can do with them.  For my card, I used the Mermaid Sea Embossing Set from Stampendous and the Abstract Koi Pond Background from Rubbernecker Stamps to make a beautiful shimmery background for my Get Well Soon card. 

Here's how my card was made-
  • Stamp a white cardstock panel using the Abstract Koi Pond Background stamp with VersaMark Ink.
  • Sprinkle all five colors of embossing powder from the Mermaid Sea set lightly one at a time until the panel is covered and heat emboss.
  • To help prevent the embossing powder to cling to the paper where you don't want it, us an Embossing Buddy or baby powder on your paper first.  Be sure not to touch the paper with your fingers.
  • Die-cut the embossed panel using one of the dies from the Nested Rectangle Small Stitch Die Cut Set.

  • Layer this onto a larger blue cardstock panel that was die-cut with the largest Nested Scallop w/Half Hole. Then layer it onto a slightly larger white panel before adhering it to a blue card.

  • Use the Rectangle Stitch One Piece Combined Die Cut to cut white cardstock, pop up one of the white frames onto the card using 3D Foam Circles from Scrapbook Adhesives by 3L.
  • Die-cut white and blue cardstock using the Friend Script w/ Shadow Die and glue the white script onto the blue shadow.
  • Apply 3D Foam Circles onto the back and pop up on the frame.

  • Die-cut white and blue cardstock using the Friend Script w/ Shadow Die and glue the white script onto the blue shadow.
  • Apply 3D Foam Circles onto the back and pop up on the frame.
  • Stamp sentiment from the Kittie Says Phrases #1 Set on a strip of white cardstock with VersaMark Ink and emboss with the leftover embossing powder. Glue this to the card with the left edge under the frame.

Have a creative day!

Have a crafty day!

Let's Connect!

Affiliate and Product Disclosure
I am on various Design Teams and get free goodies for blogging about craft products but only because I love their products and genuinely use them. Ultimately my opinions are my own. A list of companies is in my sidebar.
Being part of various affiliate programs – when you click on an affiliate link and then go on to make a purchase, at no cost to you, I receive a small commission.  The affiliates I use include Rubbernecker Stamps.