Sunday, December 27, 2020

Just For You Gift Card Holder


When I give gifts I really like to give gift cards, that way the person that I gave it to can get exactly what they want and don't have to deal with returning the gift if it's not what they can use.  I like to make those gift cards extra special by making unique personalized gift card holders.  Stampendous has a great Gift Card Wallet Die Set and along with Hands Hold Perfectly Clear Set
it makes a special holder for any occasion.

The images were stamped on watercolor paper with Onyx Black VersaFine Ink and watercolored with Inktense Pencils. 


Have a creative day!

Let's connect!


Disclaimer- I get free goodies for blogging about craft products! Today I'm sharing a card made with products from Stampendous

Here are some places that you can find Stampendous Products-
First off check out your local Stamp Store, if they don't have it they can order it.
Online Stores


Monday, December 21, 2020

White Christmas


I'm dreaming of a white Christmas but here in Oklahoma, I don't know if it will be happening but I'm keeping my fingers crossed.  Today I have one card with two different backgrounds, I couldn't decide which I liked best so I'm sharing them both, which do you like best?
Here's how they were made-


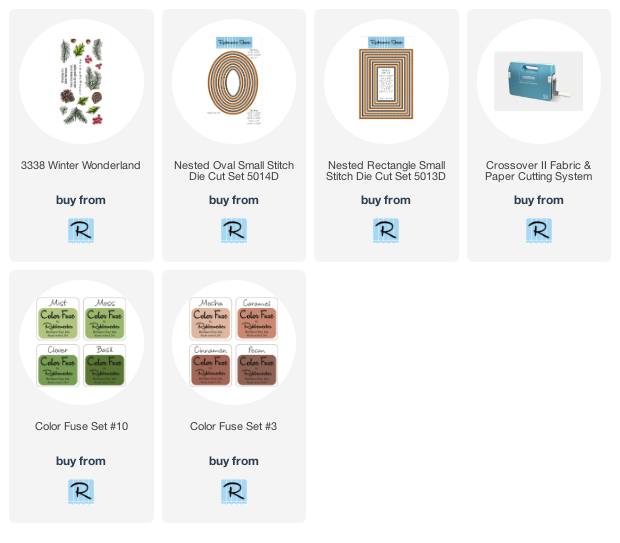
  • Die-cut white cardstock using the Nested Rectangle Small Stitch Die.
  • Die-cut an oval from red cardstock using the Nested Oval Small Stitch Die.

  • Stamp sentiment in the center of the red oval with VersaMark Ink and emboss with clear embossing powder. 
  • Place the red die in the empty space of the white panel and tape the oval into place using removable tape from the backside of the panel.
  • Randomly stamp the branches from the Winter Wonderland set so they are going towards the oval using VersaMark Ink and
  •  emboss with white embossing powder.

  • Apply Moss Color Fuse Ink with a brush to all off the branches, be generous and go outside of the branches a bit.
  • Next use Clover Color Fuse Ink on just the branches, don't go outside of the branches.
  • Finally, apply Basil Color Fuse Ink to just the center of the branches.

  • Stamp from the set, the acorn twice and the pinecone once on white cardstock with VersaMark Ink and emboss with white embossing powder.
  • Sponge both with Cinnamon Color Fuse Ink, cut out, and glue to the card as shown.
  • Pop up the panel with foam squares on a slightly larger white cardstock panel and glue the red oval in the center.  
  • Glue to a red card and you're done!


Have a creative day!

Let's Connect!

Affiliate and Product Disclosure
I am on various Design Teams and get free goodies for blogging about craft products but only because I love their products and genuinely use them. Ultimately my opinions are my own. A list of companies is in my sidebar.
Being part of various affiliate programs – when you click on an affiliate link and then go on to make a purchase, at no cost to you, I receive a small commission.  The affiliates I use include Rubbernecker Stamps.

Wednesday, December 9, 2020

Festive Christmas Tags


This Christmas Season don't forget to make some cute little tags for those gifts under the tree.  I used the Christmas Inchies Stamp Set from Rubbernecker Stamps that I used on Monday to make my slimline card (see it HERE), this set is not only cute but also versatile.  
Here's how my card was made-

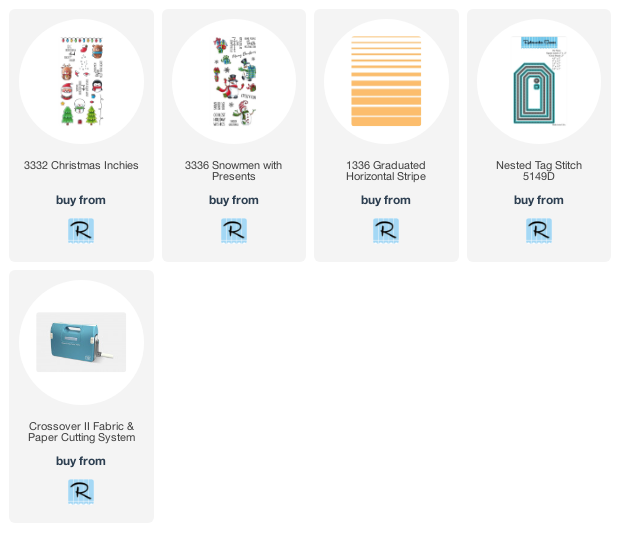
  • Stamp Christmas Inchies on white cardstock with Onyx Black VersaMark Ink and color with Prisma Colored Pencils.  
  • Cut out and set aside.

  • Stamp tan cardstock with the Graduated Horizontal stamp using white pigment ink.
  • Stamp snowflakes from the Snowman with Presents stamp set over the stamped tan panel.
  • Die-cut the stamped tan panel twice using a tag from the Nested Tag Stich Die Set.

  • Cut a wave at the top of white glitter paper and use the same tag die to cut the glitter paper just tall enough for the bottom of the tag.
  • Glue the glitter paper to the bottom of the tags and layer and glue the tags, one on red and one on green cardstock that has been die-cut with the same tag die having them be a bit offset.  

  • Pop up the Christmas Inchies on the tag as shown. 
  • Glue the small Christmas stocking to the top of the reindeer tag and stamp the sentiment on the Santa tag with black ink.
  • Tie the tops of the tags with ribbon and cord.


  • Have a creative day!


    Monday, December 7, 2020

    Merry Christmas Cuties


    Hi there, I hope you're having a good start to your week.  How are you doing on those Christmas cards?  If you haven't started, today is the day!  For my card, I made a slimline card using the new Christmas Inchies stamp set.  Be sure to come back in a couple of days, I'll have tags that I made using the same set for a completely different look.
    Here's how my card was made;

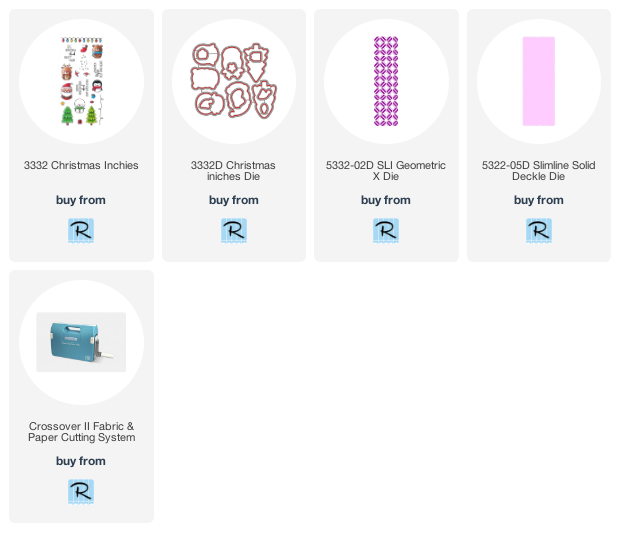
    • Stamp the Santa, Christmas tree and Rudolph from the Christmas Inchies set on white cardstock with Onyx Black Ink and color with Prisma Colored Pencils.
    • Die-cut the images with the Christmas Inchies Die set and set aside.

    • Using the Slimline Solid Deckle Die, die-cut white cardstock.
    • Place the SLI Geometric X Die in the center of the Solid Deckle panel, keep it in place using a low tack tape and run it through the Crossover ll.
    • Repeatedly stamp the string of lights across the top of the die-cut panel with black ink.
    • Stamp Merry Christmas on the bottom center of the panel with black ink.

    • Color lights green, red, and yellow using Bottle Green Nuvo Crystal Drops, Carnation Red Liquid Pearls, and Sunflower Liquid Pearls. 
    • Apply Diamond Glaze over the top of the painted lights and let dry.

    • Layer the die-cut slimline panel onto slightly larger decorative paper and glue to a red slimline card.
    • Place foam squares on the back of the three Inchies and pop upon the card as shown.


    Follow Me- Stamp This, on-

    Affiliate and Product Disclosure
    I am on various Design Teams and get free goodies for blogging about craft products but only because I love their products and genuinely use them. Ultimately my opinions are my own. A list of companies is in my sidebar.
    Being part of various affiliate programs – when you click on an affiliate link and then go on to make a purchase, at no cost to you, I receive a small commission.  The affiliates I use include Rubbernecker Stamps.

    Tuesday, December 1, 2020

    Christmas Joy Happiness


    Have you seen the pretty Poinsettia Seasons Perfectly Clear Set from Stampendous?  That's what I used for my card and I just love the Poinsettia.  It was stamped on watercolor paper with Onyx Black Ink and colored with Inktense Pencils, it just pops!  The sentiment from the set was stamped on a white oval, then it was splattered with a light grey ink mixed with water.  Once it dried drops of Carnation Red Liquid Pearls were added.  With the decorative paper in the background, it makes for a quick and easy card.  
    If you haven't started on your Christmas cards, now's the time!

    Let's connect!


    Disclaimer- I get free goodies for blogging about craft products! Today I'm sharing a card made with products from Stampendous

    Here are some places that you can find Stampendous Products-
    First off check out your local Stamp Store, if they don't have it they can order it.
    Online Stores