Friday, February 28, 2020

It's Your Birthday


Today's card is a birthday card made with the cute Cupcake Sprinkles from Stampendous.
The image is colored with colored pencils and shadowed with decorative chalks.
The patterned frame was die-cut using the Fitted Frames B Die Set and popped up using 3D Foam Squares from Scrapbook Adhesives by 3L.


Glossy Accents was added to the jar to give it a shiny look the and the sentiment popped up.

Have a creative day and follow me on 

Disclaimer- I get free goodies for blogging about craft products! Today I'm sharing a card made with products from Stampendous


Thursday, February 27, 2020

I Appreciate You


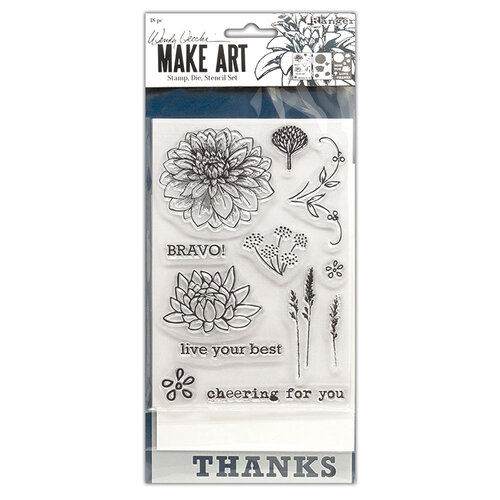
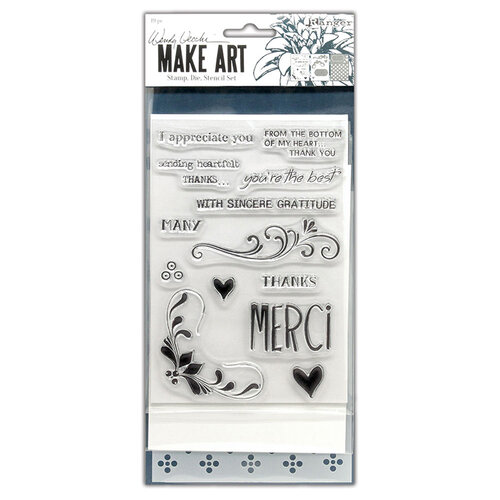
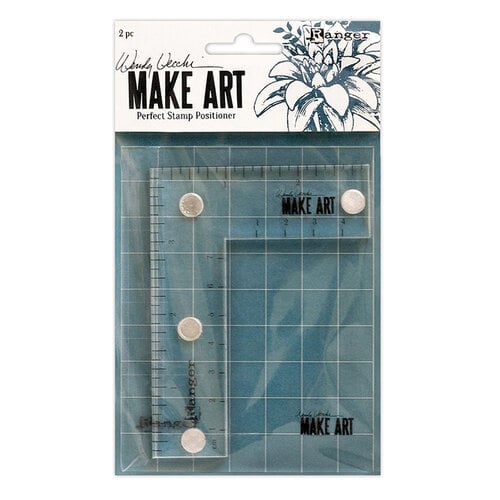
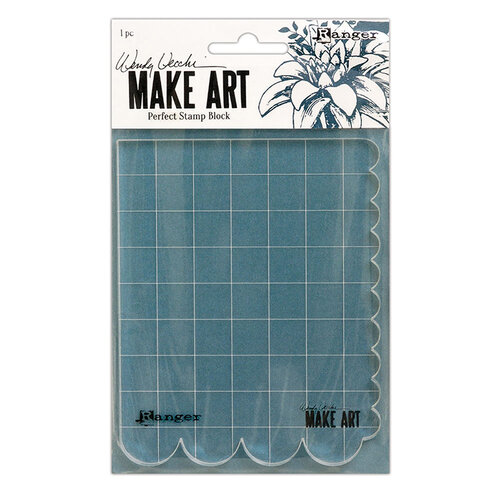
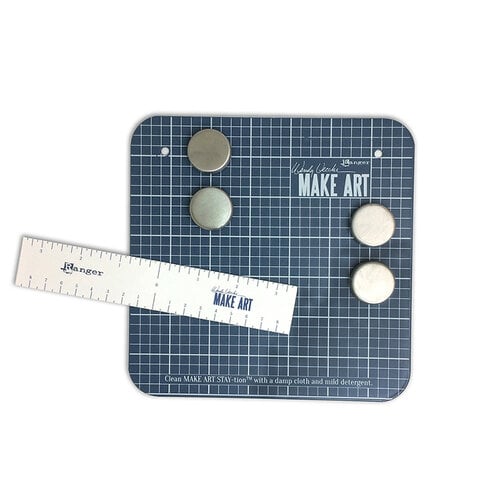
Hi my friends, today I have a card made with a bunch of new Wendy Vecchi products from Ranger.  For my card I used the Bravo and Merci Stamp, Die and Stencil Sets along with the 7"x7" STAY-tion, Perfect Stamp Postioner, Perfect Stamp Block, Perfect Stylus Set and
 
                                  Ranger Ink - Wendy Vecchi - Make Art - Stamp, Die, and Stencil Set - Bravo      Ranger Ink - Wendy Vecchi - Make Art - Stamp, Die, and Stencil Set - Merci and More

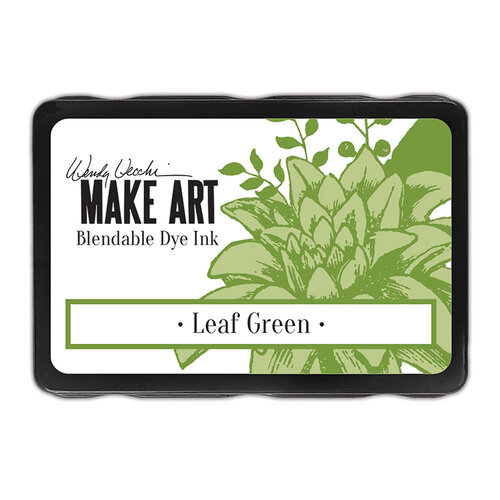
  •  I started by die-cutting an oval in the center of a white cardstock panel and applying Leaf Green ink with a brush.  
  • I then placed  it on the 7"x7" STAY-tion with stencil on top with the word "Thanks" from the Bravo Set, at the bottom of the panel, secured it with the magnets and oh wow are they strong!  Leaf Green ink was then used to stencil the word. 


  • The stencil from the Merci Set was then placed on top of the panel and the flowers were randomly stenciled with the same ink.
  • Tiger Lily ink was lightly blended over the oval center die-cut piece. Both pieces were then glued to a white card and set aside.
  • The flower from the Bravo set was stamped on white cardstock with black ink and embossed with clear embossing powder.
  • The stencil was placed over the flower and Cactus flower was applied with a brush. (The picture below shows Pink Peony being used)
  • The flower was then die-cut using the matching die.

  • Next the leaves were stamped and to be sure they were stamped in the right place, I used the new Wendy Vecchi MAKE ART Perfect Stamp Positioner Set which is two pieces, the postioner that has magnets built into it so it really sticks to the STAY-tion, and an acrylic piece to stamp your image on to know where to postion your image.
  • The picture below shows me stamping the leaves on the acrylic piece.


  • The die-cut flower was placed where I wanted it on the card but now glued down yet.  The Perfect Stamp Postioner with the stamped acrylic piece was placed where I wanted to stamp the leaves.  I then left the Perfect Postioner in place, removed the acrylic piece and the flower.  The leaves were then stamped exactly where I wanted them.  This was then repeated above the flower.


  • The sentiment from the Bravo Set was stamped on black cardstock with embossing ink and embossed with white embossing powder.
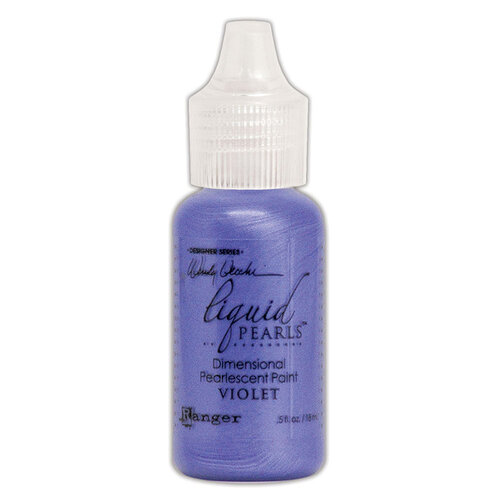
  • Lastly dots were applied to the leaf branches using Violet Liquid Pearls by putting some on my craft mat and dipping the largest end of the Perfect Stylus into it and tapping the card where I wanted dots.  This way you get perfect dots everytime!  


The links below will take you to the Scrapbook.com site where they are currently having a sale on these items!


Ranger Ink - Wendy Vecchi - Make Art - Perfect Stamp Positioner SetRanger Ink - Wendy Vecchi - Make Art - Perfect Stamp Block  Ranger Ink - Wendy Vecchi - Make Art - Stay-tion - 7 Inch  Ranger Ink - Wendy Vecchi - Make Art - Liquid Pearls - Violet
Ranger Ink - Wendy Vecchi - Make Art - Blendable Dye Ink Pads - Leaf Green  Ranger Ink - Wendy Vecchi - Make Art - Blendable Dye Ink Pads - Tiger Lily  Ranger Ink - Wendy Vecchi - Make Art - Blendable Dye Ink Pads - Cactus Flower
Have a creative day and follow me on 

Disclaimer- I get free goodies for blogging about craft products! Today I'm sharing a card made with products from Ranger and Wendy Vecchi.


Wednesday, February 19, 2020

Say It Elegantly


Hi my friends, today I have an elegant Congratulations card that uses a little bit of everything such as stamps, dies, stencils, embossing paste and embossing powder.  But don't let all of those things scare you because this really is an easy card to make.

Here's how my card was made;
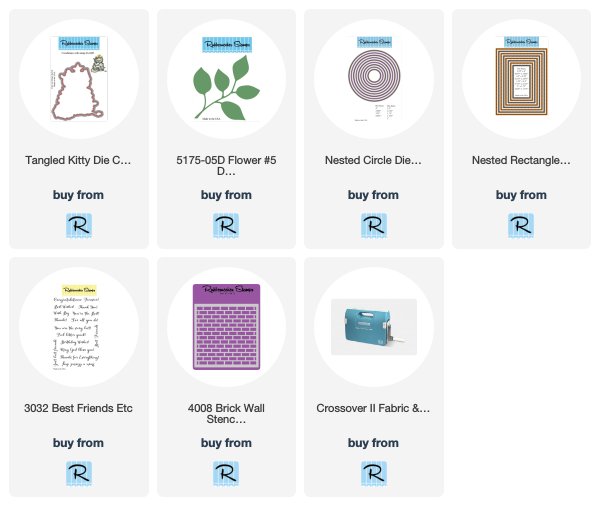
  • Die-cut white cardstock using the Nested Rectangle Small Stitch Die Cut.
  • Place the Brick Wall Stencil on top of the die-cut panel and paste emboss using gold glitter embossing paste.  Set aside to dry.
  • Die-cut a circle frame using the Nested Circle Die Cut Set and pop up on the brick panel once it's dry.
  • Use the Flower #5 Die-Cut to cut leaves from silver glitter paper and pop up over the circle frame.
  • Stamp Congratulations on a strip of black cardstock with VersaMark Ink and emboss with silver embossing powder and pop up over the circle frame.
  • Layer onto a slightly larger silver panel and pop up on a white card.

Have a creative day!


Follow Me- Stamp This, on-
Twitter

Affiliate and Product Disclosure
I am on various Design Teams and get free goodies for blogging about craft products but only because I love their products and genuinely use them. Ultimately my opinions are my own. A list of companies is in my sidebar.
Being part of various affiliate programs – when you click on an affiliate link and then go on to make a purchase, at no cost to you, I receive a small commission.  The affiliates I use include Rubbernecker Stamps and Whimsy Stamps.

Tuesday, February 18, 2020

Merci- You're the Best


Have you seen the exciting new products that Wendy Vecchi introduced at Creativeations last month?  I'll be sharing her new products over the next couple of weeks and you can purchase them from Simon Says Stamp starting February 27th.
I have to say I love these new products and she has designed some brilliant accessories to go with her new 7" x 7" STAY-tion, which is a smaller version of her 12" x 12" STAY-tion.   

For my card today I used the new Merci & More Wendy Vecchi MAKE ART Stamp, Die, Stencil Set, the 7" x 7" STAY-tion, and the Wendy Vecchi line of Liquid Pearls in Sunflower, Prickly Pear and Cornflower Blue.  Be sure to keep coming back to see the other new products, you can see them here on my Blog, on my Stamp This Facebook page and on my Stamp This Instagram page, just click on the links to follow.

Here's how my card was made-


  • The STAY-tion comes with four magnets that securely hold your stencil on your paper, so you can apply ink without worrying about your stencil moving.  I used a blender brush to apply Forget-Me-Not ink.


  • Once I was done with applying the ink, I used the gridlines to apply Wendy Vecchi Washi Tape from the Assortment 1 pack.
  • Sunflower Archival Ink was blended on the upper portion of the panel.
  • Dots of Sunflower Liquid Pearls were added to the center of the stenciled images.  To do this I squeezed a small amount of the Liquid Pearls onto my craft mat and used the larger stylus from the Perfect Stylus Set, dip the larger end into the Liquid Pearls and tapped it in the center.  This was repeated until done.
  • The green image was stamped on white cardstock with Leaf Green ink and cut out using the matching die.
  • Merci was stamped with Forget-Me-Not ink the frame was stenciled around it with black ink.
  • Hearts were die-cut from red cardstock using dies from the set.


Disclaimer- I get free goodies for blogging about craft products! Today I'm sharing a card made with products from Ranger, Wendy Vecchi MAKE ART


Monday, February 17, 2020

Birthday Shaker


Hi, Jamie here with you today and I don't know about you but I love shaker cards so here is a  birthday shaker card to start off your week.

Here's how my birthday shaker card was made-
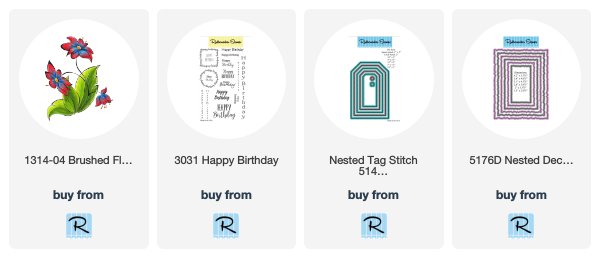
  • Stamp the Brushed Flower #7 on watercolor paper with Onyx Black VersaFine Ink and emboss with clear embossing powder.
  • Color the Brushed Flower #7 with Zig Clean Color Real Brush Pens, here are the numbers; green-045, 047, pink- 027, 021.
  • Cut out the flower using the Nested Tag Stitch Die and set aside.
  • Make a frame for the tag by taping the largest and second to the largest tag die to cut the frame.
  • Cut a piece of acetate using the largest tag die and use Tear-ific Tape to attach the frame to the acetate.
  • Now apply foam tape on the backside of the frame, sprinkle shaker card bits on top of the flower and place the frame over the flower tag, sealing the shaker bits inside.  Set aside.
  • Cut a piece of decorative paper using a Nested Deckle Die, glue to a slightly larger white panel, glue to a black card and glue the shaker piece diagonally on this.
  • Stamp Happy Birthday along the right side of the card with black ink.
  • Fold a piece of green ribbon in half, push a decorative brad through the two pieces and glue to the top of the shaker tag.
Have a creative day!


Follow Me- Stamp This, on-
Twitter

Affiliate and Product Disclosure
I am on various Design Teams and get free goodies for blogging about craft products but only because I love their products and genuinely use them. Ultimately my opinions are my own. A list of companies is in my sidebar.
Being part of various affiliate programs – when you click on an affiliate link and then go on to make a purchase, at no cost to you, I receive a small commission.  The affiliates I use include Rubbernecker Stamps and Whimsy Stamps.

Sunday, February 16, 2020

I Like You a Lotta!


Hi, I hope you all are having a good crafty weekend!  Today's card is a friendship card using the "Chocolate Dip" House-Mouse Designs stamp from Stampendous.  It's colored with Prisma colored pencils and the Fitted Frames Die A Set from Stampendous was used to cut out the image and to layer it.  The sentiment is from the House-Mouse So Sweet Perfectly Clear Set, it was stamped with VersaMark Ink and embossed with Ice Blue Embossing Enamel from Stampendous.


Have a creative day and follow me on 

Disclaimer- I get free goodies for blogging about craft products! Today I'm sharing a card made with products from Stampendous

Monday, February 10, 2020

Pugs and Kisses


Today is release day for the Whimsy Stamps, Pets WOOF Paper Door Kit and oh my gosh is it adorable!!!!  Look at those little pug faces, they are sure to put a smile on anyone's face.
The Pets WOOF Paper Door Kit will be on sale until February 25th or until it's sold out so order one now before it's too late.
Take a look at what comes in the kit.

Here's how my card was made;

  • Stamp the two pugs from the stamp set on white cardstock with Onyx Black VersaFine Ink and color with Prisma Colored Pencils, cut out using the matching die-cut set and set aside.
  • Cut paper to these measurements- 
    • 4 3/4" x 3 1/2"- 2 pieces of different patterned decorative paper from the 6" x 6" paper pack and cut both pieces diagonally with a paper cutter as shown and 1 piece of white cardstock.
    •  5" x 3 3/4"- light blue cardstock.
    • 5 1/4" x 4"- white cardstock.
    • 5 1/2" x 4 1/4"- tan card.
    • Glue all of the plain colored cardstock together so that they are layered and set aside.

  • Glue the two diagonal pieces of decorative paper to the piece of 4 3/4" x 3 1/2" white cardstock and place a thin piece of copper glitter washi tape over the seam.  Glue this to the card.
  • Stamp the words onto white cardstock with Sepia VersaFine Ink and with a glitter blue gell pen, draw lines and dots around the words.  Pop up on the striped panel with Shaker Maker Foam Tape.
  • Use the heart and bone dies to die-cut white cardstock and orange/red decorative paper from the 6" x 6" paper pack and glue to the card as shown.
  • Glue the top pug flat to the card and pop up the bottom pug with Shaker Maker Foam Tape.


Whimsy Stamps Supplies:

Other: Sepia VersaFine Ink, Copper Glitter Washi Tape, Blue Glitter Pen, Prisma Colored Pencils, Heat Gun

Cardstock Measurements:
  • 4 3/4" x 3 1/2"- 2 pieces of different patterned decorative paper from the 6" x 6" paper pack and cut both pieces diagonally with a paper cutter as shown and 1 piece of white cardstock.
  •  5" x 3 3/4"- light blue cardstock.
  • 5 1/4" x 4"- white cardstock.
  • 5 1/2" x 4 1/4"- tan card.


Here's how the Paper Door Kits work and what a great value it is.
Whimsy Stamps PAPER DOOR kits for 2020, now your monthly crafty goodness delivered right to your front door is even more affordable, and includes even more exclusive Whimsy Stamps products!
BRAND NEW kit debuting on the 10th of each month
Each kit is a $50+ retail value for only $29.95 plus shipping
EXCLUSIVE 6x6 Whimsy Stamps designer paper pack collections, fun and creative designs on heavyweight paper with a beautiful sheen - 24 double-sided sheets
SPECIAL EDITION 4x6 clear stamp set "Sweet as Sugar" created exclusively for PAPER DOOR
COMPLEMENTING "Sugar Rush" 4x3 stamp set and large rubber background stamp "Sweets", designed exclusively for PAPER DOOR
SPECIAL EDITION "Sweet Word and Shadow Die" introduced especially for PAPER DOOR
PRIVATE access to PDF files with step-by-step instructions for at least 4 different projects
We’ve made PAPER DOOR an easy and affordable way for you to enjoy a monthly card making kit:
NO minimums
NO subscriptions to commit to
NO wait lists to sweat out
NO multi-tier pricing
Each kit is a LIMITED EDITION and individual items may or may not be released at a later date. Supplies are limited so order yours today, and unlock your creativity with Whimsy Stamps PAPER DOOR kits!


Have a creative day and follow me on 
Instagram

Affiliate and Product Disclosure
I am on various Design Teams and get free goodies for blogging about craft products but only because I love their products and genuinely use them. Ultimately my opinions are my own. A list of companies is in my sidebar.
Being part of various affiliate programs – when you click on an affiliate link and then go on to make a purchase, at no cost to you, I receive a small commission.  The affiliates I use include Whimsy Stamps.


Monday, February 3, 2020

Heartfelt Thanks


Hi my friends, it's the first Monday of the month so I'm excited to be up on the Rubbernecker Stamps Blog today!  My card uses stamps from the latest release of beautiful stamps, I really love the Brushed Flower collection, they can be used in so many ways!

Now on to how my card was made;
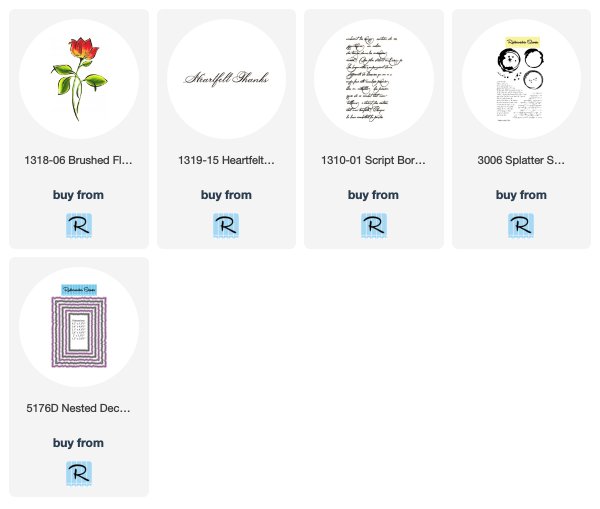
  • The Brushed Flower #13 was stamped on white cardstock with Onyx Black Ink and colored with Prisma Colored Pencils, here are the numbers; pink- 929, 994,
    green- 912, 909, 989, blue-1027, orange-918, 921.
  • This was then die-cut using the Nested Deckle Rectangle Die and layered onto a black panel 2 3/4" x 4".  Set aside.
  • Sponge a white cardstock panel 4" x 5 1/4" with Worn Lipstick Distress ink and stamp the Script Border #1 with the same ink.
  • Randomly stamp the gray splatter marks using the Splatter Stains Clear Set using Smokey Gray VersaFine Ink.


  • Apply a strip of black and white Washi Tape to the left side of the panel and glue to a pink card 4 1/4" x 5 1/2".
  • Pop up the Brushed Flower #13 towards the left side of the card using 3D Foam Squares from Scrapbook Adhesives by 3L.
  • Stamp Heartfelt Thanks on a 1" x 4 1/4" piece of white cardstock with black ink and emboss with clear embossing powder.  Layer this onto slightly larger pink paper and glue onto the popped up flower.
  • To finish off the card three sequins were randomly glued to the card using Nuvo Glue.


Follow Me- Stamp This, on-
Twitter

Affiliate and Product Disclosure
I am on various Design Teams and get free goodies for blogging about craft products but only because I love their products and genuinely use them. Ultimately my opinions are my own. A list of companies is in my sidebar.
Being part of various affiliate programs – when you click on an affiliate link and then go on to make a purchase, at no cost to you, I receive a small commission.  The affiliates I use include Rubbernecker Stamps and Whimsy Stamps.